You can use the lightweight YOROI wallet for the delegation of ADA coins to a pool. It is only possible from the Shelley wallet. Many people probably have coins in the old Byron wallet. In the first section of the article, we will show you how you can transfer ADA coins from the Byron wallet to the Shelley wallet. In the second part, we will show you how you can delegate ADA coins to a pool.
In the Byron and Shelley eras, different format of addresses is used. In the Byron are, users can create only Byron wallets. Now, in the Shelley era, users should use only Shelley wallets and transfer funds to them.
The part dedicated to the transfer of funds is relevant only for older users that stored ADA in the wallet in the Byron era. Newcomers can just create a new Shelley wallet and start to delegate coins to a pool.
Transferring funds from the Byron wallet to the Shelley wallet
I have seen the warning related to the upgrade of the YOROI wallet in my current version of the YOROI wallet.

I use the Chrome browser. It was necessary to remove the current extension and add the YOROI wallet extension again. Install the latest available version. The current version is 3.1.1.
NOTE: You might not need to remove and add the extension. The extension should automatically update to 3.1.1 but sometimes it can take a day or two for Chrome to auto-update. You can try to manually force Chrome to check for updates if you don't want to wait.
Restore your wallet via using the old Byron recovery passphrase. Click to the Restore wallet button.
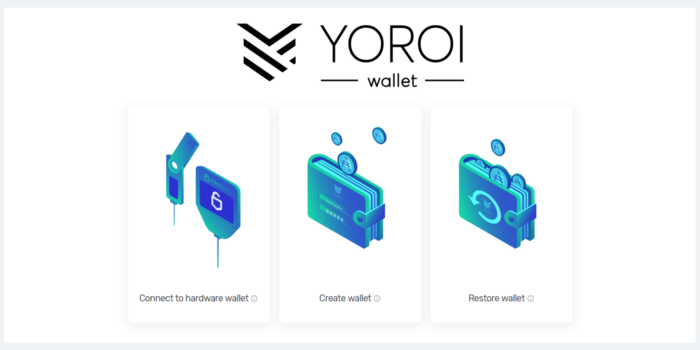
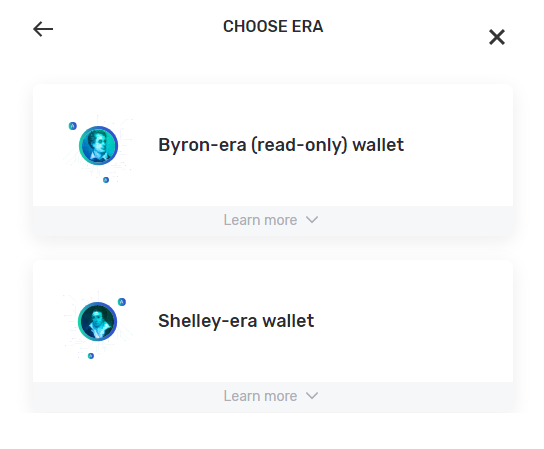
Continue with dialogs. You will get to the point where you can choose between the Byron era and the Shelley era. Choose Byron-era since you want to restore your old Byron wallet.
Provide the wallet recovery passphrase and restore the Byron wallet. It should take a short time and you will see the recovered wallet with funds.
Create a new Shelley wallet by clicking to the Add new wallet button. You will need to provide a new spending password. Carefully write down the new wallet recovery passphrase.
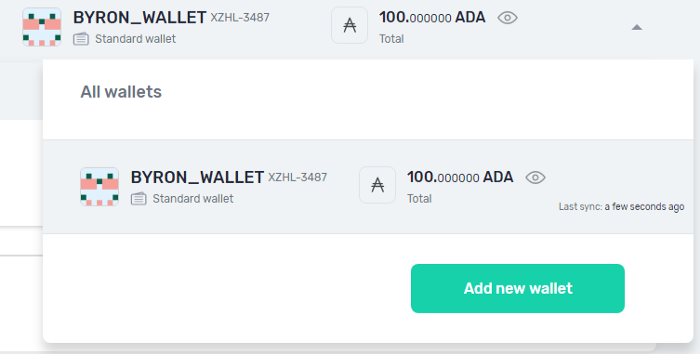
Now I have two wallets that I named by the eras. So I have the recovered wallet with the name BYRON_WALLET with 100 ADA coins. I also have a new empty wallet with the name SHELLEY_WALLET.
As we said, the delegation works only from the Shelley wallet. So it is necessary to transfer ADA coins from the Byron wallet to the Shelley wallet.

Use a transaction to get the fund from the Byron wallet to the Shelley wallet. Go to the Shelley wallet and pick the Shelley wallet address. Then go to the Byron wallet and create a transaction. Use the Shelley address as the receiver’s address. You are sending ADA cons to yourself. You can mark the Send all ADA to send all ADA from the Byron wallet.
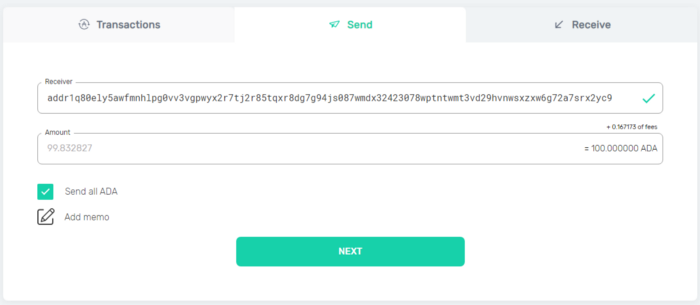
After a while, you will have the coins in the Shelley wallet. Now, you are ready for the delegation.

Guide for delegating of ada coins within Shelley test-net for the Yoroi wallet
Now obsolete guide related to delegating to a pool in the Shelley test-net.Read more
Delegation of ADA coins to a stake pool
The delegation is a very easy task. Go to the Delegation and insert a stake pool ID.
In the example below, we have used the Cardanians stake pool ID (ticker #CRDNS):
618ab17ec8ea7239b4ac0c826b667c599489e25524ce74841a29d510
You can experiment with our second stake pood ID. Just go back and replace the previous one by the following one (ticker #CRDN1):
e5b20e8f9661506710a159e561d40ceb54449fdea1d1130b3bdb36bb

To find the stake pool ID of another pool you can go to https://adapools.org/ where you can find the stake pool ID of your favorite pool. You can find a pool by searching by the ticker and then going to detail. Pool operators can propagate their stake pool ID on social media.
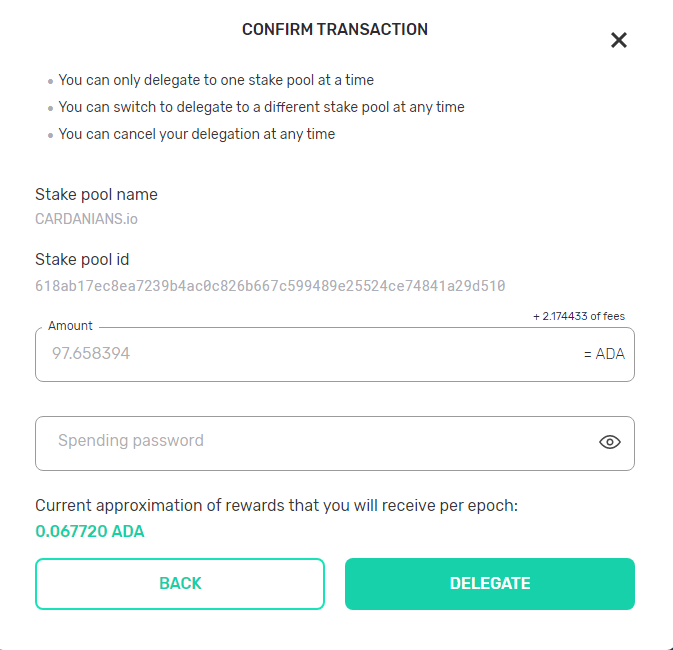
When you have inserted the stake pool ID click to the Next button. You will see a confirmation dialog. The wallet will search for pool details and shows it to you. You need to provide a spending password to pay the fee. Then click to the Delegate button.
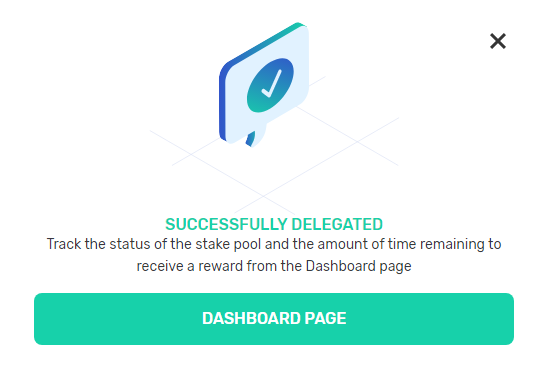
After a while, you will see the dialog that confirms that you have successfully delegated your ADA coins to the pool.
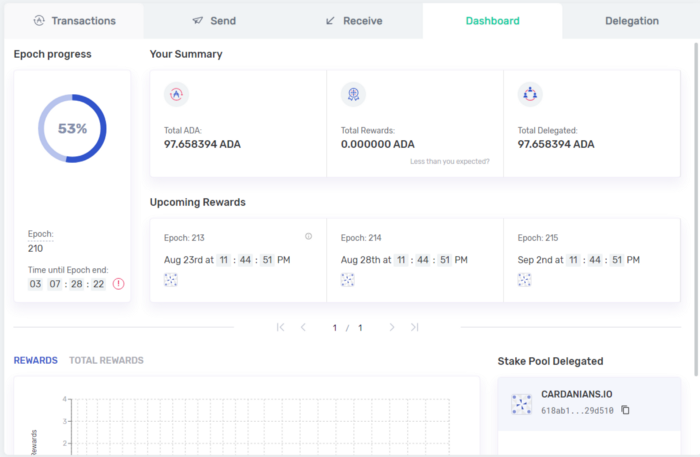
You can use a dashboard to see details related to the delegation.
If you want to delegate to another pool, then go to the Delegation part again and provide different stake pool ID. The process is the same.
Conclusion
The delegation is a very easy task and we believe that you would be able to do it without the manual. Happy staking!


