
Learn how to stake ADA on Yoroi in three easy steps!
- 1. How to Install Yoroi Wallet for Chrome
- 2. How to Create a Wallet with Yoroi
- 3. Delegating/Stake ADA on Yoroi to a Stake Pool
- What are Costs & Fees
- Confirming Your Delegation
- Sending Additional ADA to an Existing Wallet.
- References and Additional Material
- Consider Delegating to Our Pool
Yoroi is a fantastic lightweight wallet to delegate and stake your ADA. Unlike Daedalus, it doesn't download a copy of the ledger but instead connects to a cloud version of it on a server. It is similar to the Metamask wallet that you would find in the Ethereum world.
The Yoroi Wallet comes as a browser extension that can be installed on common browsers, including Chrome, Edge, and Firefox. A mobile app version is also available for Android and iOS.
Be sure that you download the correct version from the official Yoroi website - https://yoroi-wallet.com/. There are quite often copycat apps that are fake and will try and steal your ADA.
This video tutorial will go through installing the Yoroi Wallet browser extension on the Brave, a Chrome-based browser, creating a new wallet and using that wallet to delegate its ADA balance to a stake pool.
1. How to Install Yoroi Wallet for Chrome
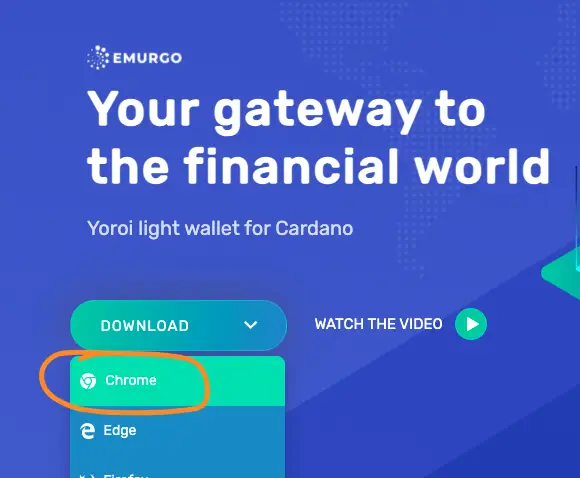
Navigate to the Yoroi website - https://yoroi-wallet.com/. Ensure you're on the correct website. Searching it via Google may also be a good idea.
From the Download drop-down menu, choose Chrome.
This will take you to the Chrome web store. Again, check that you're on the correct domain for Google.
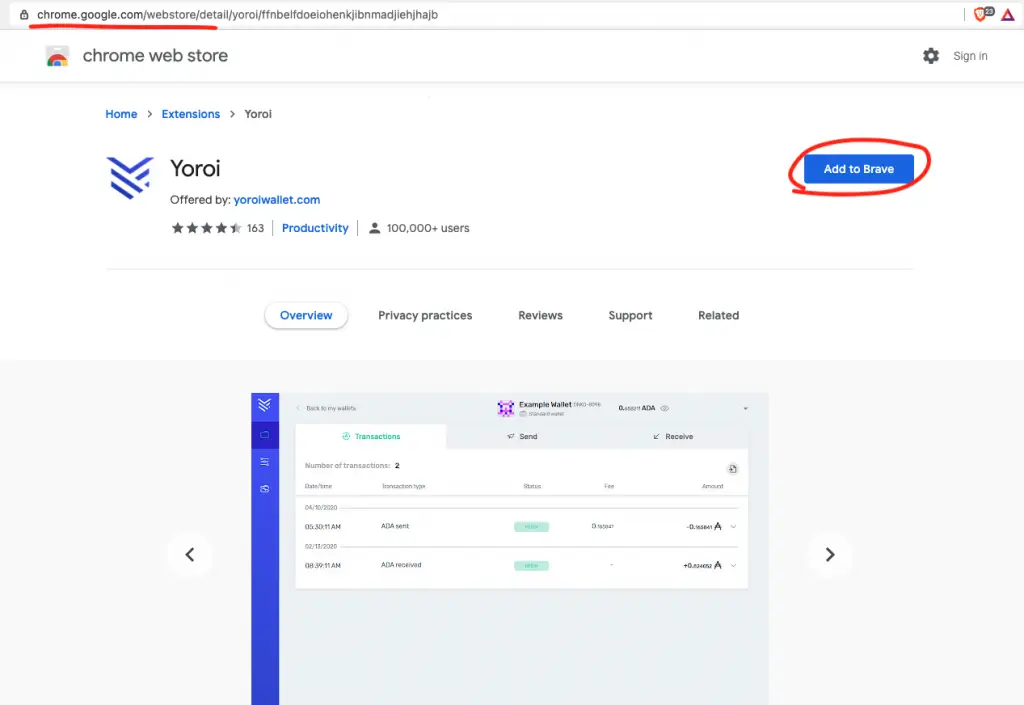
Click Add to Brave or Add to Chrome
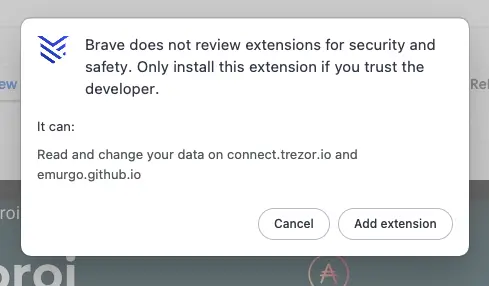
A warning message will appear about the extension.
Click Add Extension.
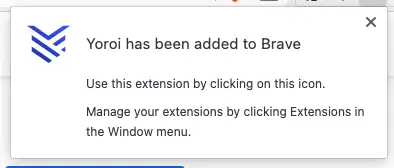
You will see a success message stating that the extension has been installed.
The extension will appear in your Extensions icon in the browser. Click to expand the extensions tab. You will see Yoroi appear under the area "No Access Needed".
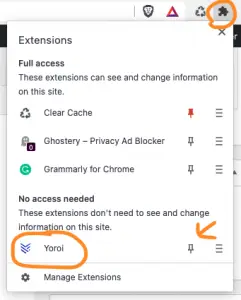
You have to option here to also Pin the extension to your browser bar so that you can quickly interact with it when needed.
Click on the Yoroi icon to load the extension.
You will now be taken through the basic setup.
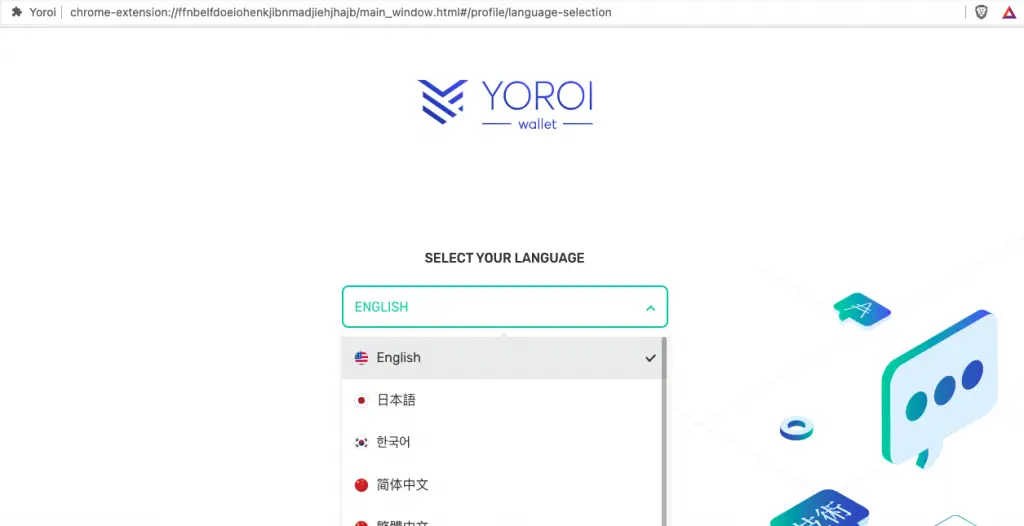
Choose your desired language and press continue.
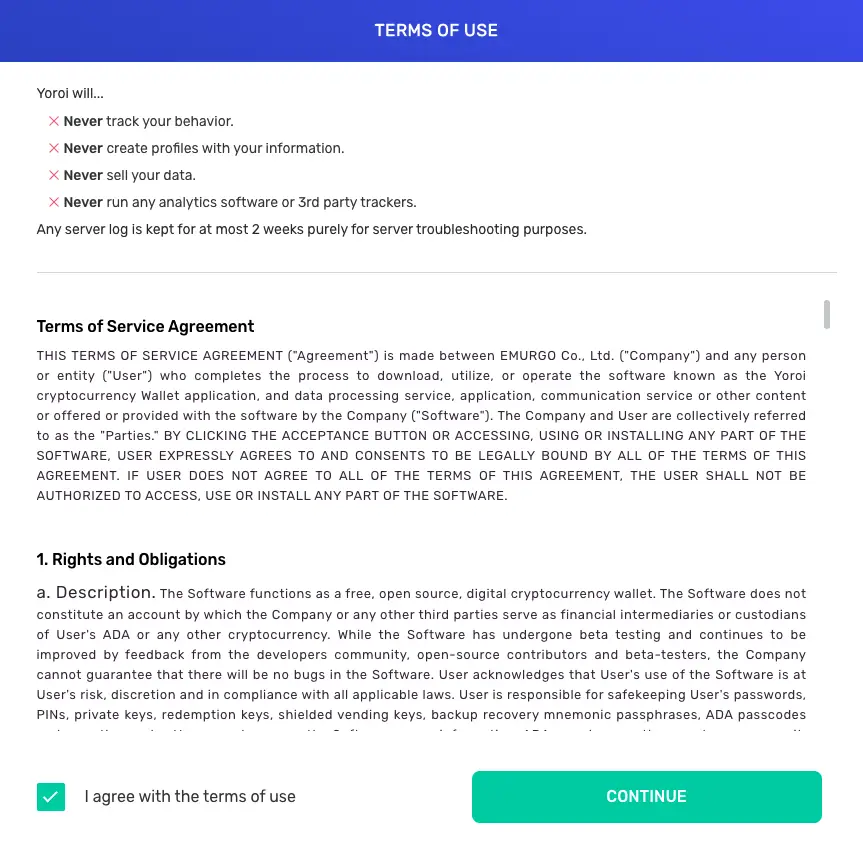
Accept the terms of use (as well as read them) and press continue.
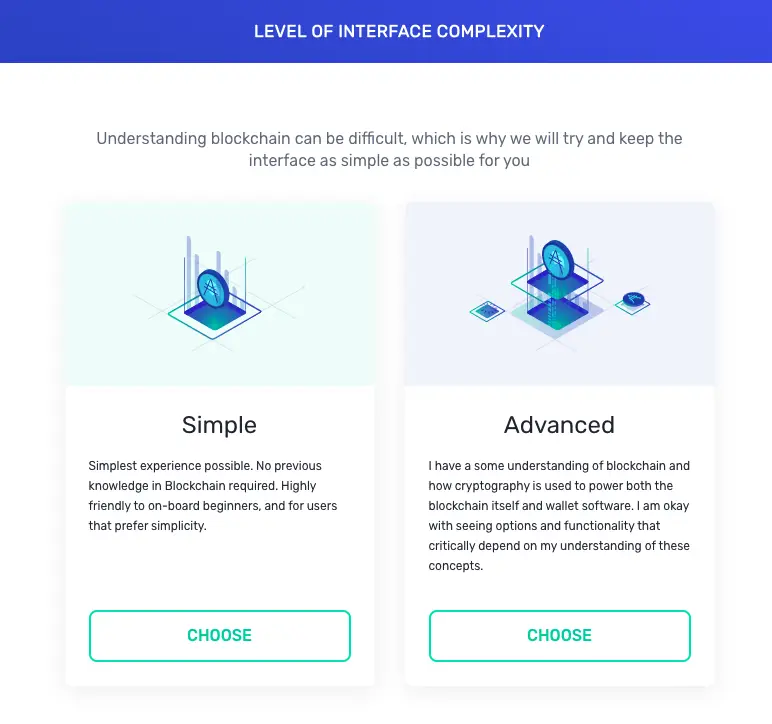
You can choose between simple and advanced options. If you're completely new to blockchain and have never used an Ethereum wallet such as My Ether Wallet or Metamask, then you should choose Simple. Otherwise, choose Advanced. For this tutorial, we are going with simple.
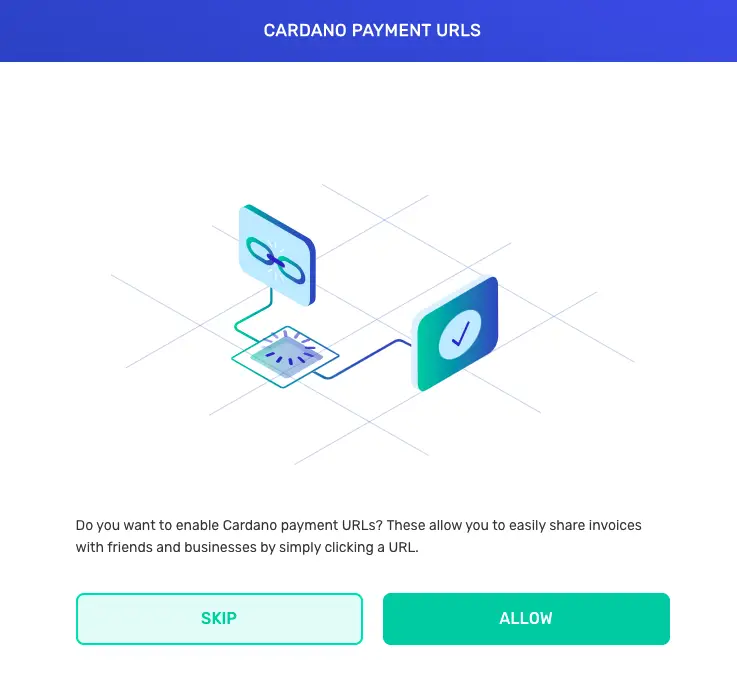
Choose if you want to use Payment URLs or not. You can come back and enable these at a later date. For this tutorial, we can skip this for now.
You are now done with the installation of the Yoroi wallet extension for Chrome and are ready to set up a new wallet to begin delegating to stake ADA on Yoroi.
2. How to Create a Wallet with Yoroi
Assuming that you have now successfully installed the extension to your browser, you can now create a new wallet.
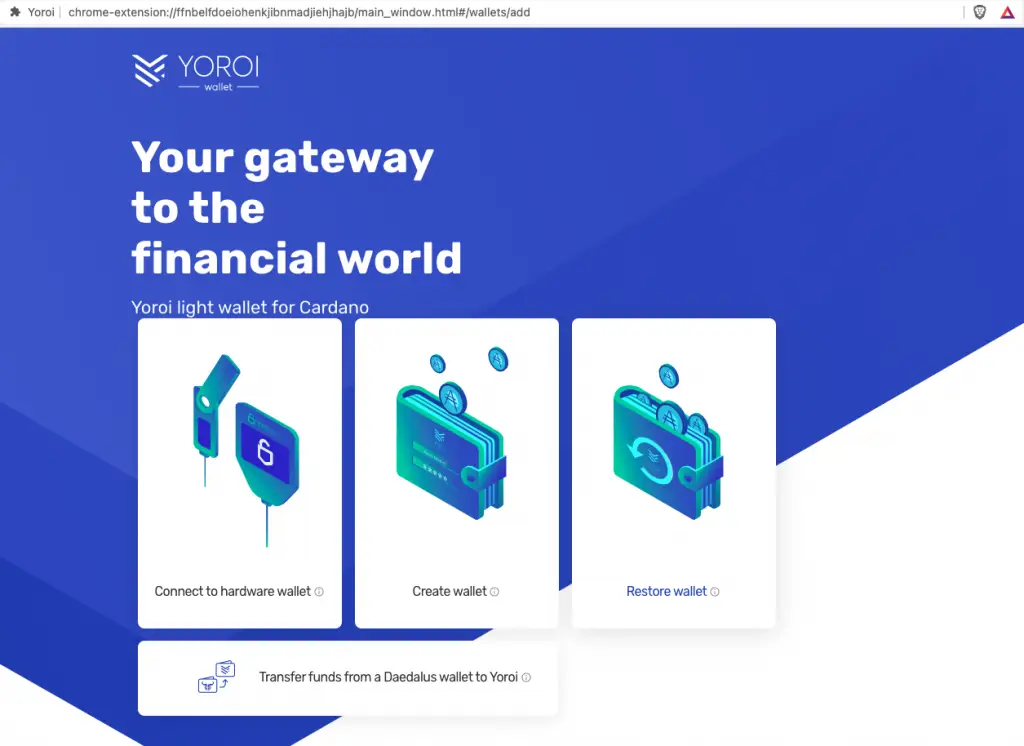
If you have an existing wallet, you can choose to restore it. You can also restore a wallet that was created in Daedalus or connect your hardware wallet with Trezor of a Ledger Nano, but that is out of the scope of this tutorial.
Click "Create wallet" from the launch screen.
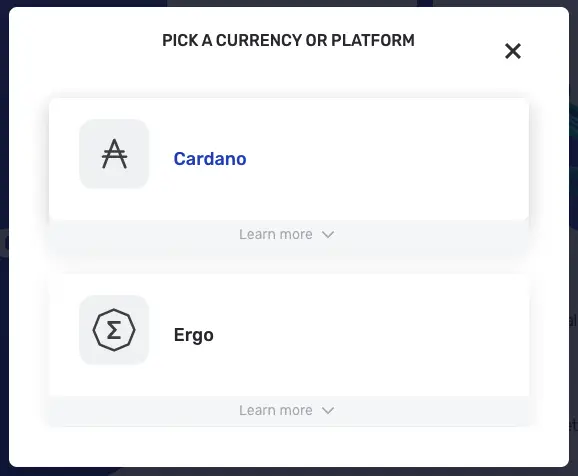

Choose the currency, in this case, "Cardano", and choose "Create Wallet".
Give the wallet a friendly name. This is for you to track which wallet is for what. Similarly to how you may have different bank accounts for different functions. We'll call our wallet, My Wallet. Create a 'sending password' for your wallet. The password is used to authorise transactions on your wallets, such as sending ADA, delegating to a stake pool or voting. It is important to ensure you have a secure password being long in character count, using upper and lower case letters and numbers and symbols. Making a multi-word password sometimes makes it easier to remember. Either way, make sure you write this down somewhere secure.
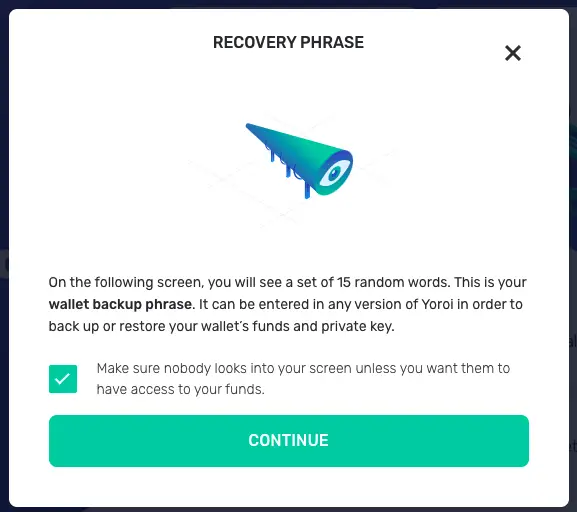
The next step is to create the recovery phrase. This is the random 15-word password that is used to restore your wallet on a different device. Anyone can use these 15 words to restore the wallet and send funds to another wallet without the sending password.
Ensure that no one can see your screen. Ensure that the word phrase is written down and stored somewhere safe away from being able to deteriorate.
Some people go to the length of etching their recovery phrase into stainless steel plates or pressed in leather. We'll write about this in a future post.
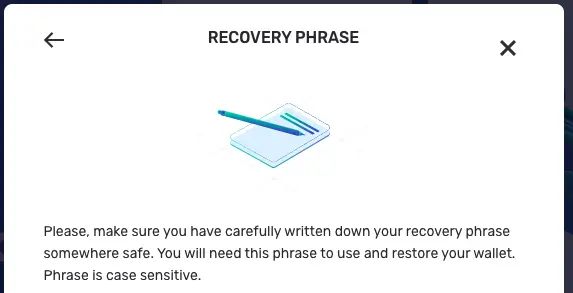
Write down your recovery phrase and be prepared to write it back into the wallet extension.
The next screen will ask you to restore the recovery phrase by either typing in the words or selecting them on the screen.
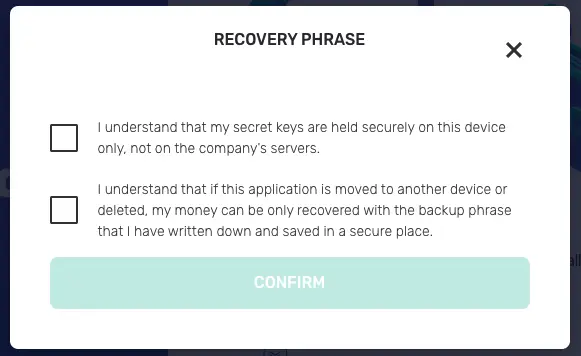
Once you're done, click accept to the screen prompts and continue. If you are ever to restore a wallet, this seed phrase is what you will do to restore it. It might be a good idea at this point to remove the Yoroi wallet and practise restoring your wallet from your seed phrase before transferring your millions of ADA to the wallet, only to lose it one day from not being able to restore the wallet.
Your wallet is now created!
At this point, you will need to send ADA to this wallet by clicking on RECEIVE from the top menu. You can't stake ADA on Yoroi if you don't have any ADA in your wallet.
It will give you a wallet address.
Use this address as the receiving address from the exchange where you are purchasing your ADA. You can also use the QR code to populate the payment address string. If you use the address above, thank you. It means you are sending the ADA to my address, and I'll gladly accept it as a donation. So please check to see that you are sending it to the correct address. You can reference the last 5 characters. Usually, they will be unique and should match the address you're using. Finally, you are ready to delegate and stake ADA on Yoroi.
3. Delegating/Stake ADA on Yoroi to a Stake Pool
Now that you have the Yoroi wallet extension installed you can now stake ADA on Yoroi, with a newly create wallet and funded with ADA, you're ready to delegate to a stake pool.

From the Yoroi wallet app, click on the "Delegate List" menu across the top to start staking ADA on Yoroi.
You can browse through all the pools that are listed but you can also search for a pool by its ID or ticker name.
Our pool, ADAOZ, is a pretty good new pool with low saturation and good growth.
- Ticker: ADAOZ
In the search box, paste in the Ticker you wish to delegate to. In this case, our pool, ADAOZ.
You will see the pool icon and details. [ADAOZ] ADA Australia. Click "Delegate".
What are Costs & Fees
On all pools you will see a Cost. This cost as you can see on our pool is the fee that we take from the rewards. It is not a fee we take from you when you delegate.
The fee is taken from the rewards that are distributed to the pool each epoch collectively.
 See the data at: https://adapools.org/ADAOZ
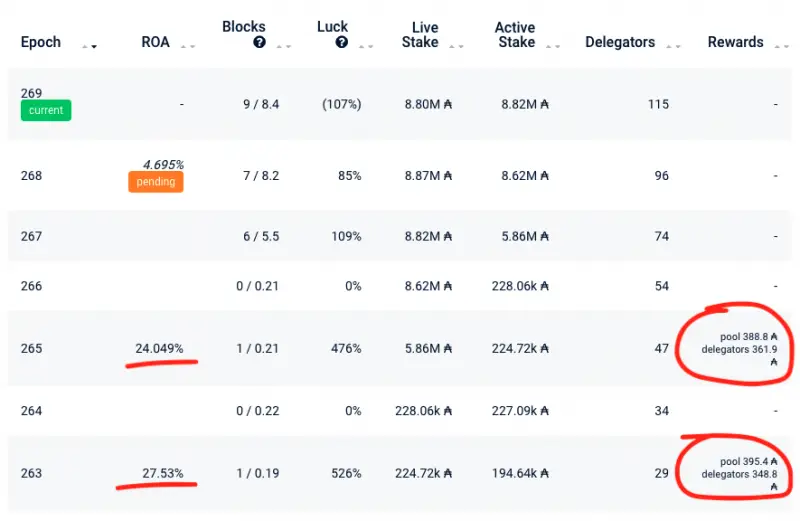
There are two examples of our pool distributing rewards when we only had a 220,000 ADA stake delegated to our pool. In epoch 263, we minted our first block and returned to our delegates 27.53% of their stake.
Our pool took 395.4 ADA in total in regards to fees and our delegates took home 348.8 ADA in total distributed between the 29 delegates to the pool.
Learn more about the fixed and variable margin fees for Cardano staking.
Confirming Your Delegation
The next screen that will appear will confirm your delegation.
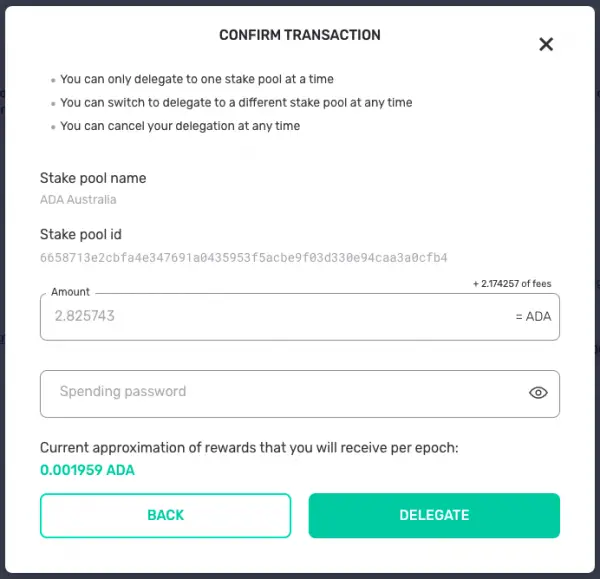
In this process, I am delegating 10 ADA to the pool. There is a transaction fee of 2.174257 ADA for delegating. This is something to keep in mind if you're going to continuously switch from pool to pool. Type in your sending password which you created when creating your wallet and click delegate.
You have now successfully delegated your ADA to a stake pool using the Yoroi wallet! Stake ADA on Yoroi and earn rewards is that easy!
If you want to learn more about how to stake ADA on Yoroi, and the rewards workflow in Cardano, check out episode 9 of our podcast where we break it all down for you.


